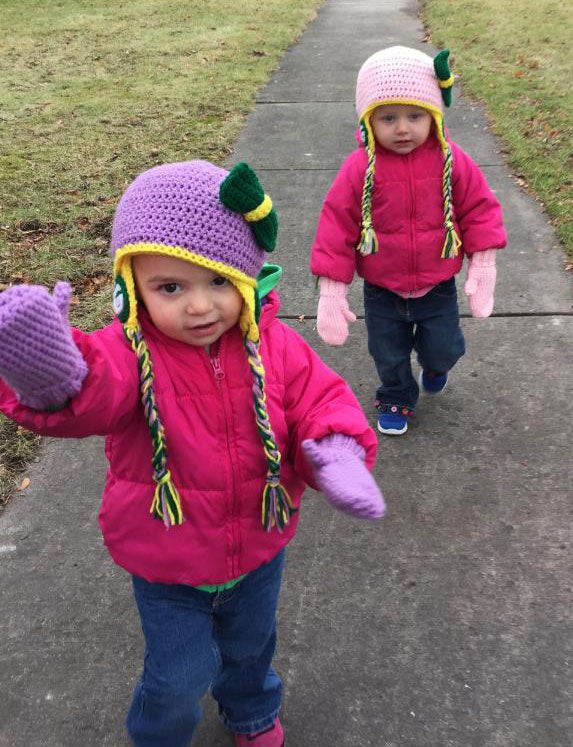
It's getting rather cold now down here in North Carolina...I can't imagine what it's like in Green Bay, WI. My friend asked me to make birthday gifts for her 2 year old twin granddaughters that live in Green Bay and happen to be Packer fans. She wanted to give them each a hat, mittens and leg warmers... one set pink, the other purple with Green Bay Packers colors yellow and green accents.
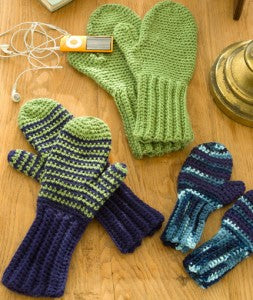
I had never made mittens before but I was up for the challenge! Luckily Red Heart has a very easy Crochet Mittens for All free pattern to share. Below are the pattern directions for a Child's mitten size. For more pattern details and directions for Women and Men mitten sizes, click here.
MITTENS
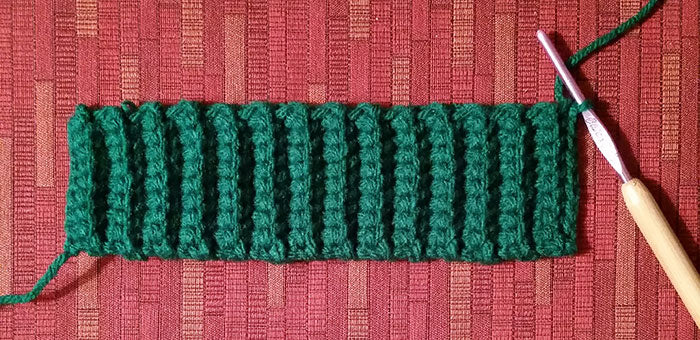
Cuff
Using Super Saver, ch 10.
Row 1: Working in back loops only, sc in 2nd ch from hook and each ch across, ch 1, turn.
Repeat Row 1 for a total of 18 rows.
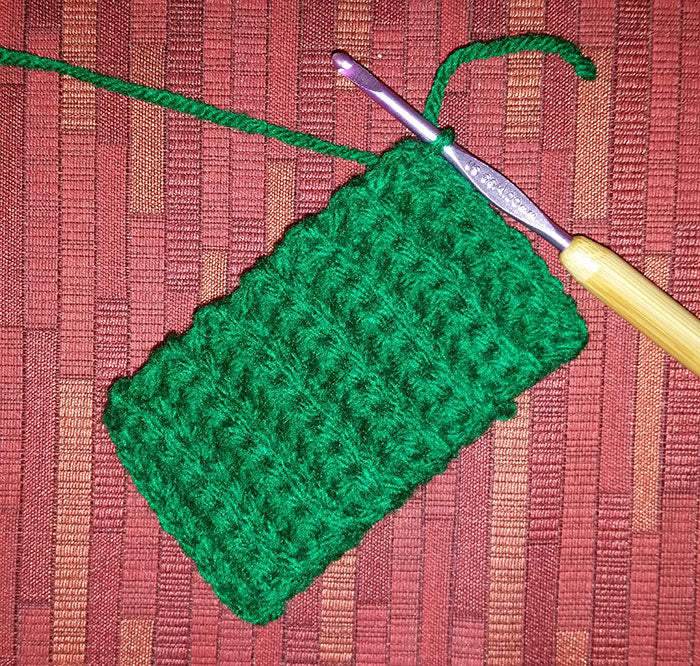
Fold cuff in half and join ends with slip st to form cuff. Do not fasten off.

Hand
Round 1: Working along row ends on cuff, slip st evenly around for 18 sts, join round with slip st.
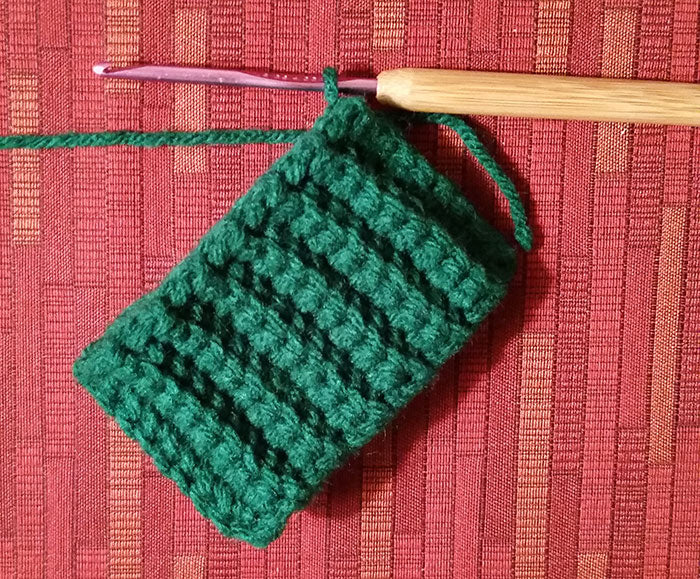
Round 2: Ch 1, place marker, [sc in next 8 sts, 2 sc in next st] twice. Join with slip st [20 sts].
Round 3: Ch 1, [sc in next 9 sts, 2 sc in next st] twice. Join with slip st [22 sts].
Round 4: Ch 1, [sc in next 10 sts, 2 sc in next st] twice. Join with slip st [24 sts].
Continuing with pattern, ch 1, sc in each sc around, join with slip st. Repeat for 1 round.
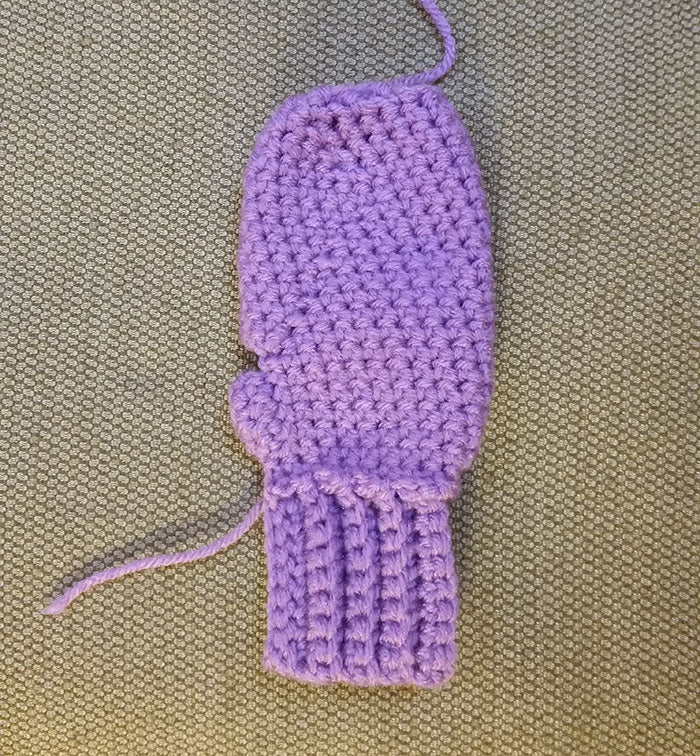
Thumb Opening
Next round: Ch 1, [sc in next 20 sts, ch 4, skip remaining sts and join with slip st to first st.
Upper Hand
Sc in each st around for 8 rounds [24 sts].
Round 1: [Sc 10, sc2tog] twice [22 sts].
Round 2: [Sc 9, sc2tog] twice [20 sts].
Round 3: [Sc 8, sc2tog] twice [18 sts].
Round 4: [Sc 7, sc2tog] twice [16 sts].
Sc2tog around (8 sts), fasten off.
Continue with thumb.
Round 5: Sc in each st around.
Round 6: [Sc 9, sc2tog] twice [20 sts].
Next 2 rounds: Sc2tog around [5 sts]. Fasten off at end of last round.
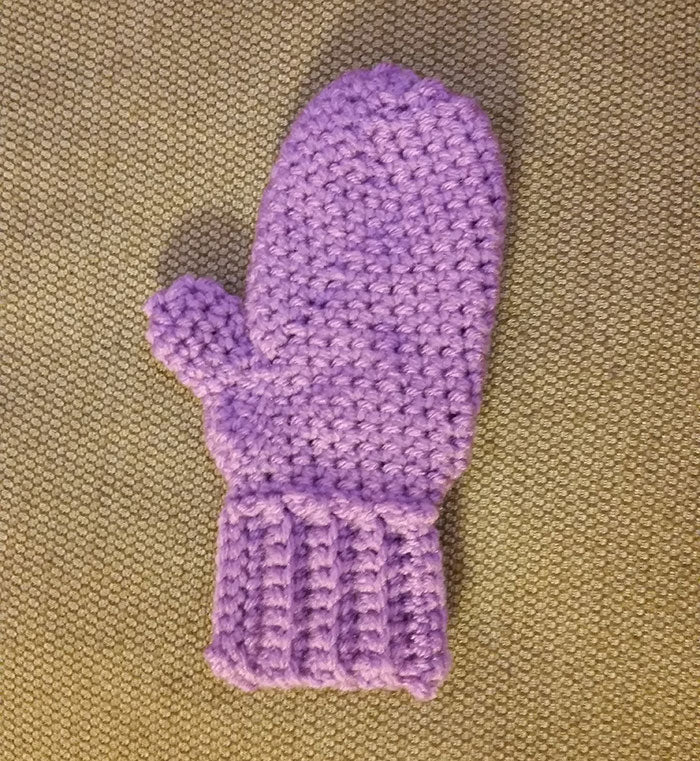
Thumb
Round 1: Join yarn to thumb opening at st closest to upper hand, ch 1, sc in each st around, joining with slip st [8 sts]. Sc in each st around for 4 rounds.
Next round: Sc2tog, sc to 3 sts from last st, sc last 2 sts tog [6 sts]. Sc2tog around.
Fasten off. Weave in ends.
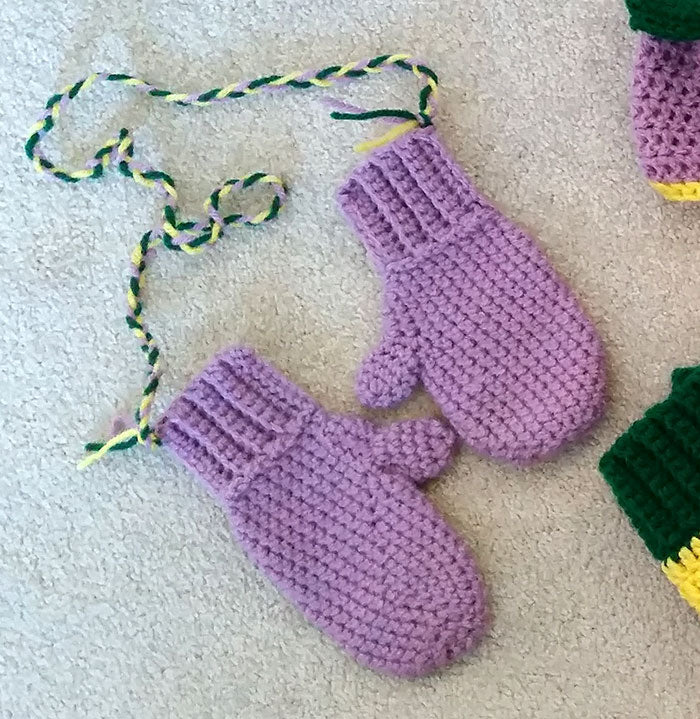
My friend wanted (as she called it) "idiot strings" attached to the mitten sets so the little girls won't lose their mittens. I had never heard it called this before.. .must be a "northerner" saying. Haha! So for the purple mittens, I grabbed a purple, yellow and green strand of yarn, each the same length, tied them to the bottom row of the mitten and braided til the end and tied to the bottom row of the other mitten. I did the same thing for the pink mittens but used pink, yellow and green instead.
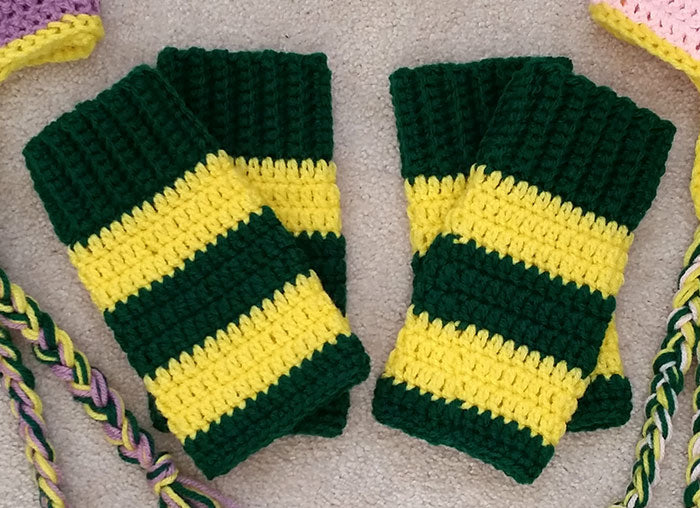
On to the leg warmers... I used the same cuff directions from the mittens to use for the ribbing of the leg warmers except repeating Row 1 for 28 rows instead of 18.
Leg Warmers
Using Super Saver, ch 10.
Row 1: Working in back loops only, sc in 2nd ch from hook and each ch across, ch 1, turn.
Repeat Row 1 for a total of 28 rows.
Fold cuff in half and join ends with slip st to form cuff. Do not fasten off.
Round 1: Working along row ends on cuff, slip st evenly around for 28 sts, join round with slip st.
Change to Super Saver Yellow.
Round 2: Ch 2, dc in each sc around. Join round with sl st in ch 2.
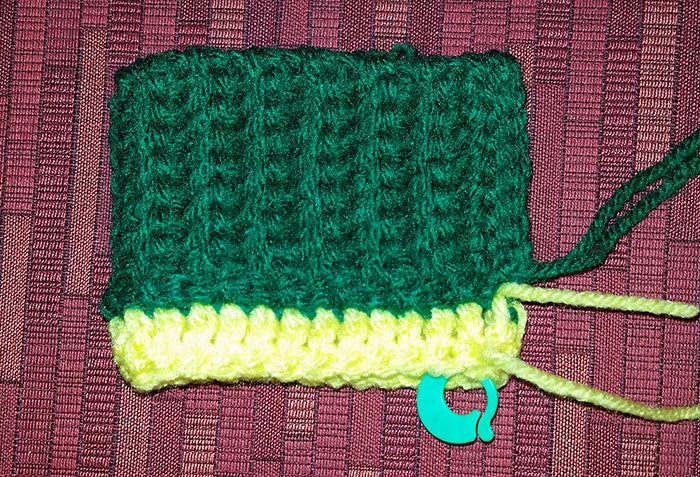
Round 3: Ch 2, dc in each dc around. Join round with sl st in ch 2.
Round 4-desired length: Repeat Round 3 until desired length switching yarn to created stripes every 3 rounds.
Fasten off and weave in ends.
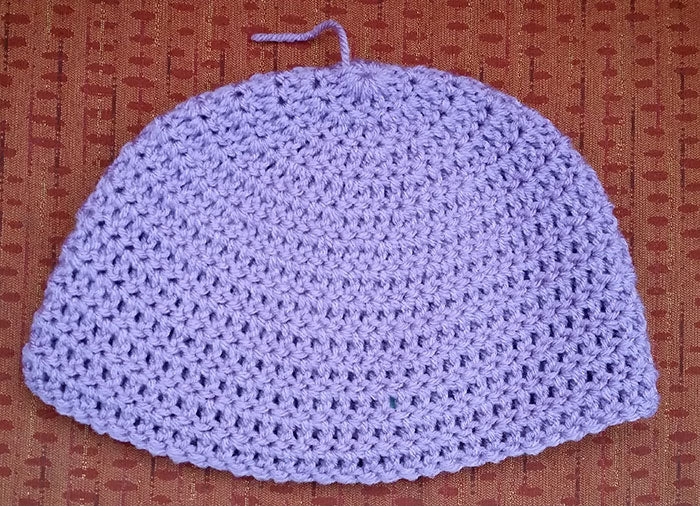
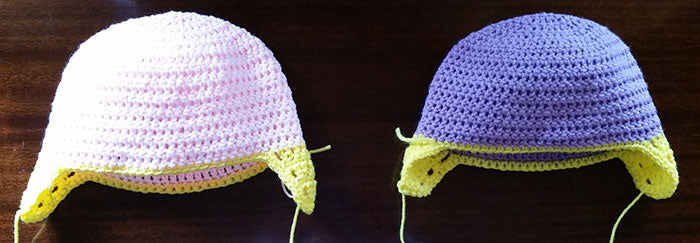
Now onto the hat...

My friend wanted matching hats for her twin gran Addaughters but one pink and one purple. She wanted the hats to have ear flaps and braids and wanted a Green Bay Packers patch stitched onto the ear flaps. I also added to the hat she wanted a bow stitched to the top. I came across Red Heart's Hootin' Owl Hat pattern and I thought this is the perfect pattern to go by for these hats. Click here for more hat pattern details. Read below for the accessories a Added. :)
HAT
With A, make an adjustable ring, ch 1.
Round 1: Work 12 dc in ring; join with slip st in first dc”12 dc.
Round 2: Ch 1, 2 dc in each dc around; join with slip st in first dc”24 dc.
Round 3: Ch 1, [dc in next dc, 2 dc in next dc] 12 times; join with slip st in first dc”36 dc.
Round 4: Ch 1, [dc in each of next 2 dc, 2 dc in next dc] 12 times; join with slip st in first dc”48 dc.
Round 5: Ch 1, [dc in each of next 3 dc, 2 dc in next dc] 12 times; join with slip st in first dc”60 dc.
Round 6: Ch 1, [dc in each of next 9 dc, 2 dc in next dc] 6 times; join with slip st in first dc”66 dc.
Rounds 7“13: Ch 1, dc in each dc around; join with slip st in first dc. Switch to Super Saver Yellow.
Right Earflap
Row 1: Ch 2 (counts as first dc here and throughout), dc2tog, dc in each of next 4 dc, dc2tog, dc in next dc; leave remaining sts unworked, turn”8 dc.
Row 2: Ch 1, sc in each dc across, turn”8 sc.
Row 3: Ch 2, dc2tog, dc in each of next 2 sc, dc2tog, dc in last sc, turn”6 dc.
Row 4: Ch 1, sc in each dc across, turn”6 sc.
Row 5: Ch 2, [dc2tog] twice, dc in last sc, turn”4 dc.
Row 6: Ch 1, sc in each dc across”4 sc.
Fasten off.
With right earflap facing and back seam to the right, place st marker 26 spaces to the left of the last st from right earflap.
Left Earflap
Join A with slip st in marked st.
Row 1“6: Work same as rounds 1“6 of right earflap.
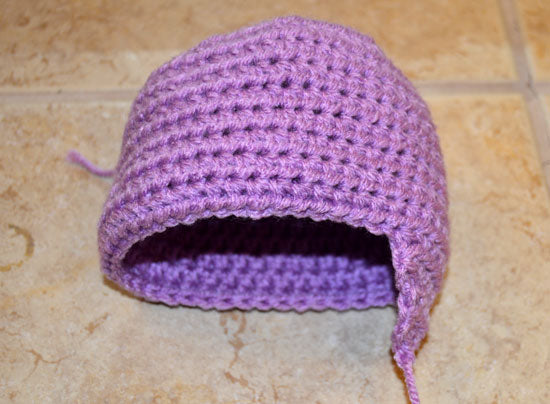
Border
Round 1: Join A with slip st in center back between earflaps, ch 1, sc evenly around, working sc in each st and in end of each sc row and 3 sc in the end of each dc row; join with slip st in first sc. Fasten off.
Braid (make 2)
Cut three 28 (71 cm) strands each of B, C, and D. Separate each color. Thread strands between stitches on last row of earflap. Fold in half and braid doubled strands together until 4 (10 cm) of fringe remains, knot to fasten, trim ends evenly.
Weave in ends.
Green Bay Packers patch (make 4)
Circle
Make an adjustable ring. Ch 2, 12 dc in ring. Join with sl st. Fasten off and leave long tail for sewing.
G
Ch. 21. Fasten off and leave long tail for sewing.
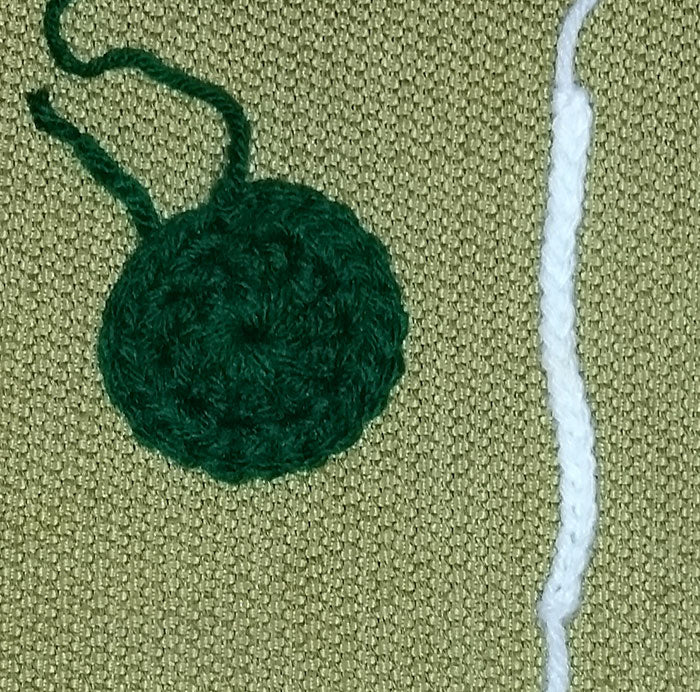
Position Ch. 21 on circle in shape of a "G". Sew into place.
Sew the patches onto each earflap.

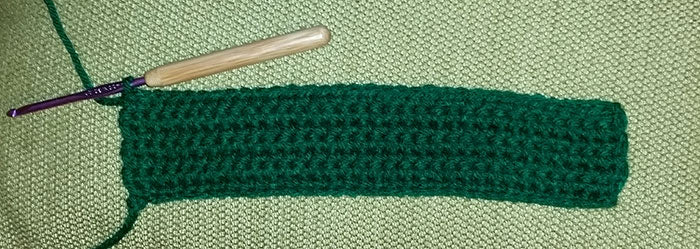
My friend wanted a bow a Added to the side of the hats. Below are the directions I used to make a bow for each hat. Click here for more pattern details on the Bow for an adult size.BOW
Using Super Saver and 3.75mm [US F-5] hook, ch 37.
Row 1: Working in back loops, sc in 2nd ch from hook and in each ch across “ 36 sts.
Row 2: (Right Side) Ch 1, turn, working in both loops, sc in each sc across “ 36 sts.
Rows 3-7: Repeat Row 2.
Fasten off, leaving a long tail for sewing.
CENTER BAND
Ch 11 (12).
Row 1: Working in back loops, sc in 2nd ch from hook and in each ch across “ 10 sts.
Row 2: (Right Side) Ch 1, turn, working in both loops, sc in each sc across “ 10 sts.
Fasten off, leaving a long tail for sewing
FINISHING
Sew short ends of Bow Tie together to form a loop. Flatten loop, positioning seam in center of back. Sew top and bottom edges closed.
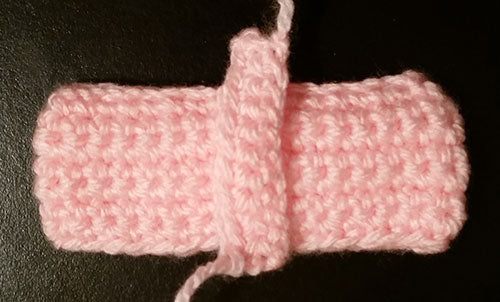
With right sides facing, wrap Center Band around center of Bow Tie and sew ends together.
Weave in ends.
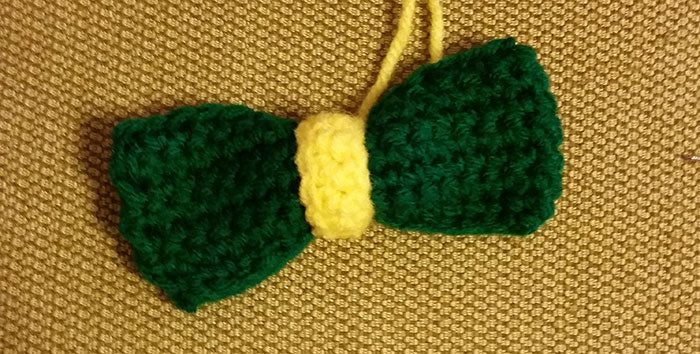
Ahhhh! So cute! Everytime I make these!!
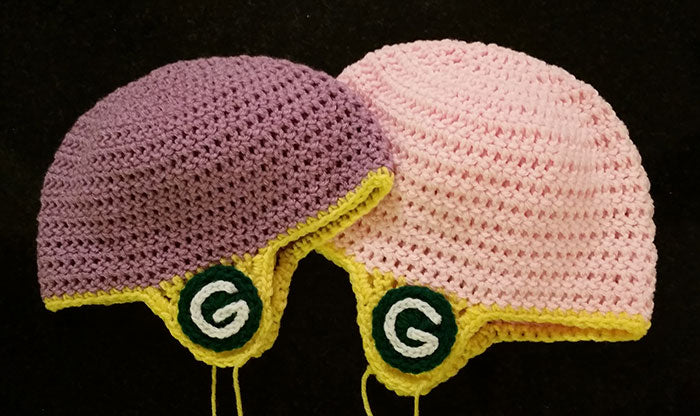
And here is a picture of the finished items. So that was a lot, but totally worth it!

Look how adorable these little Green Bay Packer fans are.