


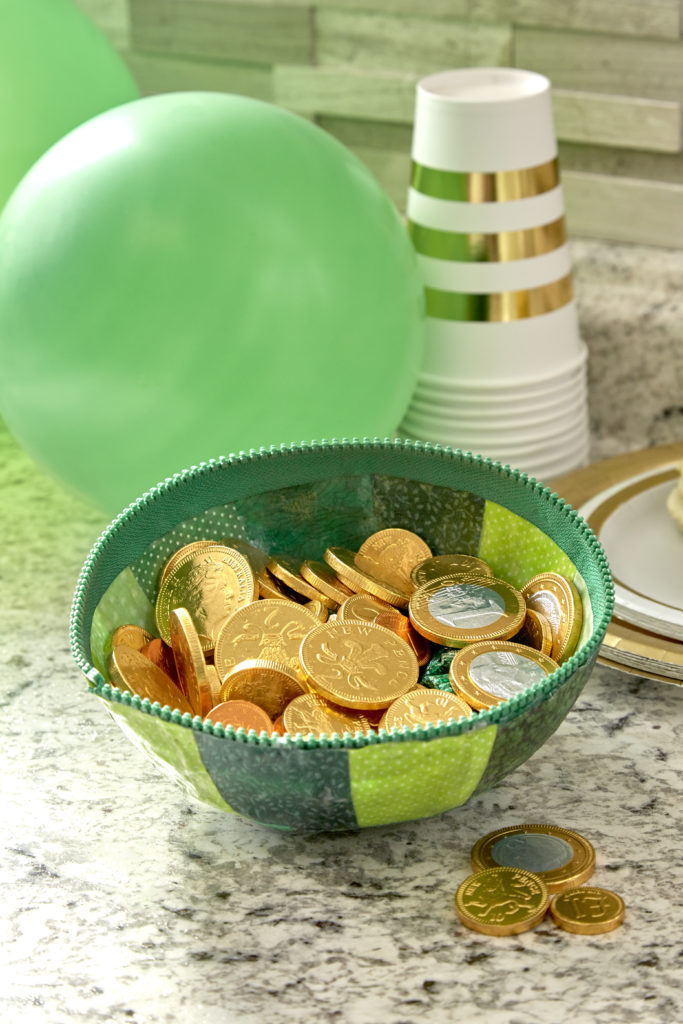
If you’re looking for a place to store a little gold at the end of the rainbow, this fabric bowl is ideal. Made with swatches o’ green, the zipper piping trim helps it hold its shape. Celebrate St. Patrick’s Day by filling the bowl with candy coins.
 Designed by Linda Turner Griepentrog
Finished Size of Project: Custom (featured bowl is about 20” [50.80cm] around)
Supplies
Coats Sport Zipper, 24” (60.96cm) Color 6550 Kerry Green
Assorted green fabrics
Modge Podge, matte finish
Balloon
Foam brush
Fabric glue
Spring clips
Preparation
Blow up the balloon to the desired size and knot off the ends. The circumference of the balloon will determine the bowl size. Place the balloon into a bowl (knot side down) or other container to help hold it in place while you work with it.
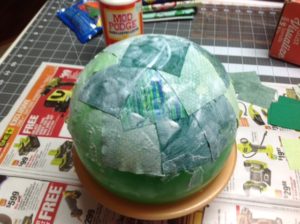 Shape fabric over a balloon
Cutting
From the green fabrics, cut:
1 ½”-2” (3.81cm-5.08cm) squares, about 80-100
TIP
Cutting the squares with a rotary cutter produces a clean, thread-free edge for a neater look.
Assembling the Bowl
- Coat the upper half of the balloon with Modge Podge.
- Position the fabric squares right sides down against the balloon starting at the upper edge of the glue covering and working toward the lower edge. Smooth the squares into place and overlap adjacent squares in random patterns, mixing up the colors.
- Apply a second coat of Modge Podge once all the fabric squares are in place. Allow to dry overnight.
- Apply another coat of Modge Podge to the bowl and this time cover the surface with fabric squares placed right sides up. This allows the fabric color to show on both the inside and outside of the bowl.
- Cover with another layer of Modge Podge and allow to dry thoroughly. Repeat the coating process another time after the first one is dry. Allow to dry overnight.
- Untie the balloon and allow the air to escape slowly as the balloon pulls away from the fabric. Don’t worry if little bits adhere to the fabric, as you can cut them away later.
Finishing the Bowl
- Set the bowl on a flat surface and cut the upper edges even. Trim away any extra balloon bits that may have stuck to the surface. If the surfaces appear unevenly coated or any finish pulled away with the balloon, recoat with Modge Podge and let dry before continuing.
- Unzip the zipper and use the half without the pull. Glue the zipper tape inside the rim of the bowl, leaving the teeth extending beyond the edges. Hold in place with spring clips. But the ends to make a smooth joining. Allow the glue to dry.
Note: Save the other half of the zipper and make a bowl for Christmas using Christmas fabrics —Fill with candies or red and green ball ornaments.
