


Hi all! I’m Sunni Standing from A Fashionable Stitch. I’m dropping in with a quick tutorial on how to make a bow belt! Beltmaking can be such a gratifying, fun and crafty process and here is but one way to jump into a little sartorial accessory making. For more on beltmaking, especially vintage style beltmaking, hop on over to my blog here, where you’ll find several posts on how to make your own belts. I’ll be referencing several of those posts here too.

a buckle kit – you can find them here, in my shop!
fabric – about 1/4 yard
matching thread
an adjustable zipper foot for your machine
sew-on or prong style snaps
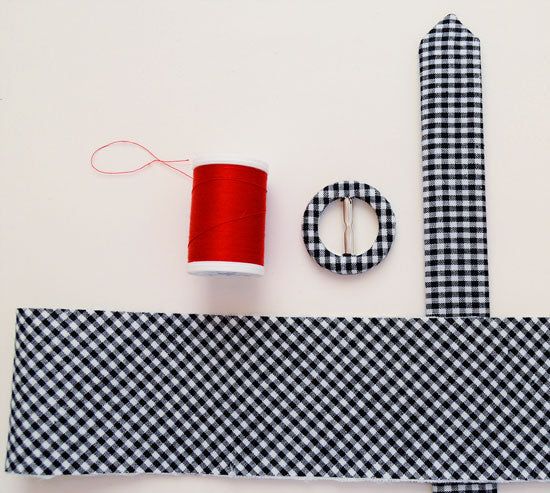
Cover your buckle and cover your belt backing. To do both of these things, please have a look

Step 2: To make the bow, you’ll need to cut a strip of fabric. For the belt you see in these photos I used a buckle whose dimension was 1 1/2 inches in diameter. I wanted a bow that had a little bit of scrunch to it (some slight gathering in the middle where it goes across the bar) and that had about 1 1/2 inches of overhang on the sides. To do that I cut a strip of fabric, on the bias (optional) that was 3 1/2 wide (the height I wanted x 2, plus seam allowances) and 8 1/2 inches long (the width I wanted x 2, plus seam allowances). The seam allowance in this case is 1/4″. Please note that depending on the buckle you use, your strip dimensions may differ.

Step 3: Take your strip and with right sides together, fold in half lengthwise and stitch in place leaving about a 2 inch opening on each side.
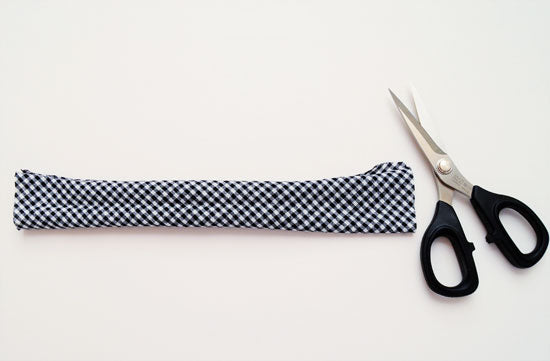
Step 4: Press seam open and turn your newly formed tube to the right side.

With right sides together, take the unfinished ends (the short ends) of the your tube and stitch them together. This step is a little awkward to explain, but basically you’ll end up with a circle once your finished.

Step 6:

Stitch the leftover opening in your circular tube closed.


Step 8: Feed your newly formed bow through the buckle and fiddle with your bow until you feel its just perfect.


Step 9:
Now feed your fabric covered belt backing through the back of your bow belt buckle. Re-fiddle with your bow if needed.

Attach a snap or two to secure your belt in place to wear. For this particular belt I used a snap from Snap Source which I secured with one of their amazingly easy to use Snap Tools. You can also attach sew-on snaps and for more ideas and how to attach those have a gander at this tutorial.
There you go! A stylishly sweet bow belt! In addition, you don’t necessarily have to make a belt here, you can also use this tutorial for pin/brooch or hair clip instead. So many possibilities! Play around and see what you come up with!
 Sunni Standing is proprietress of all things. A Fashionable Stitch, where she writes, sews, plays and sells all things related to garment sewing. Sunni’s just a regular girl with a sewing machine and mountains of fabric, tormented by fine sewing and style. Visit the blog www.afashionalbestitch.com– for more.
