


Kicking off January with this versatile Faux Fur Collar. I love that I can add this to a simple coat to fancy it up a bit or with a blouse and dress. You can change up the scarf to match different looks as well. Get the details below on how to make your own Faux Fur Collar just in time for the cold months ahead.
Supplies:
- Coats & Clark Dual Duty XP All Purpose Thread
- Faux Fur (1/2 yard) Shannon Fabrics Sable Fur in Champagne
- Liner (1/2 yard)
- ribbon (similar to liner) 1″ width
- Template
- Marking tools
- Razor blade
- Interfacing
- Pins
- Brother Sewing Machine
DIY:

Use the template to trace the pattern onto the back of the faux fur. You will want to make sure the nap of the fur is going in the correct direction (down) of the collar.

Tip: Use a razor blade to cut the faux fur. This will keep the faux fur from having a sharp cut and the mess at away. Always cut from the back side of the fabric.

Cut out a liner (and interfacing if necessary) with the template. I’m using a satin. You may want to add fusible interfacing to the liner for additional stability.

Mark off 5 even sections on the liner. You can use the iron like I did or a fabric marking tool.

Create 5 tabs or use satin ribbon (similar to your liner). I used ribbon that measured 1″ in width and the length of the section.
Top stitch the tabs into place (1/8 or so from the edge).


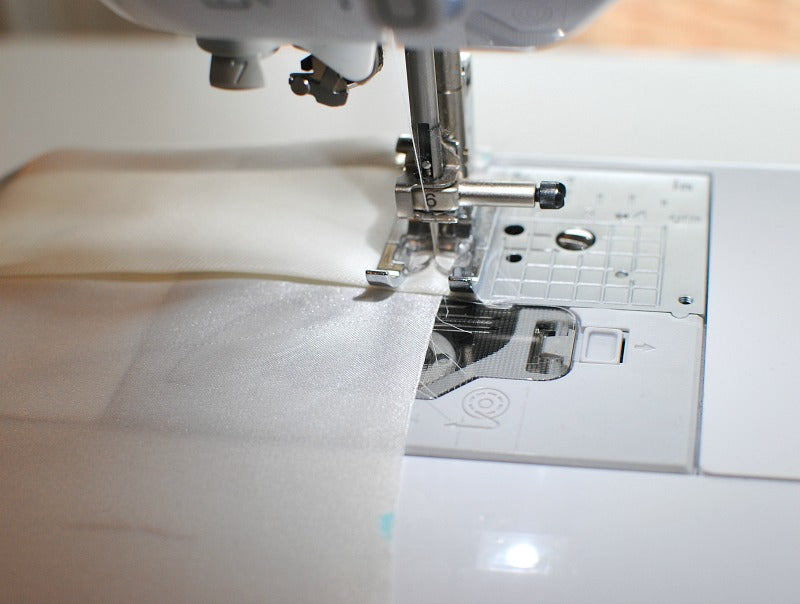
Place faux fur piece and liner right sides together and pin. Pin so the fur is on the inside of the fabric.
Mark off a 3″ gap at the lower center. You will sew all the way around (1/4″ or so seam allowance) but leave the 3″ open so you can flip right sides out.


Clip corners and trim down seam allowance if necessary.
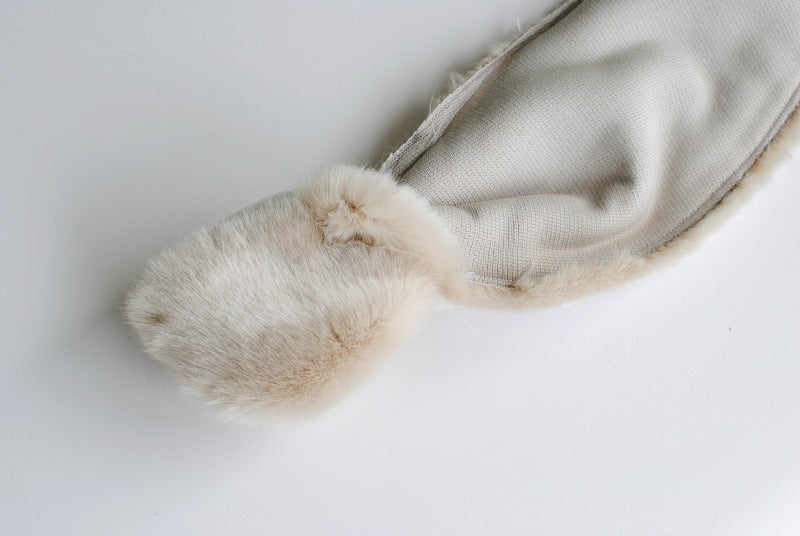
Flip right side out through the opening.

Sew the opening closed with a needle and thread using a blind stitch.
Weave a scarf through the tabs and tie in the center for a versatile collar perfect for the winter.

***In collaboration with Trash to Couture.
