what is punch needle?
Picking up a new craft can sometimes be daunting but I’m about to show you how easy punch needle can be! So just what is punch needle? Well, it’s in the same family as rug hooking but even easier. You use a punch needle tool to stab fabric with yarn to create a design!
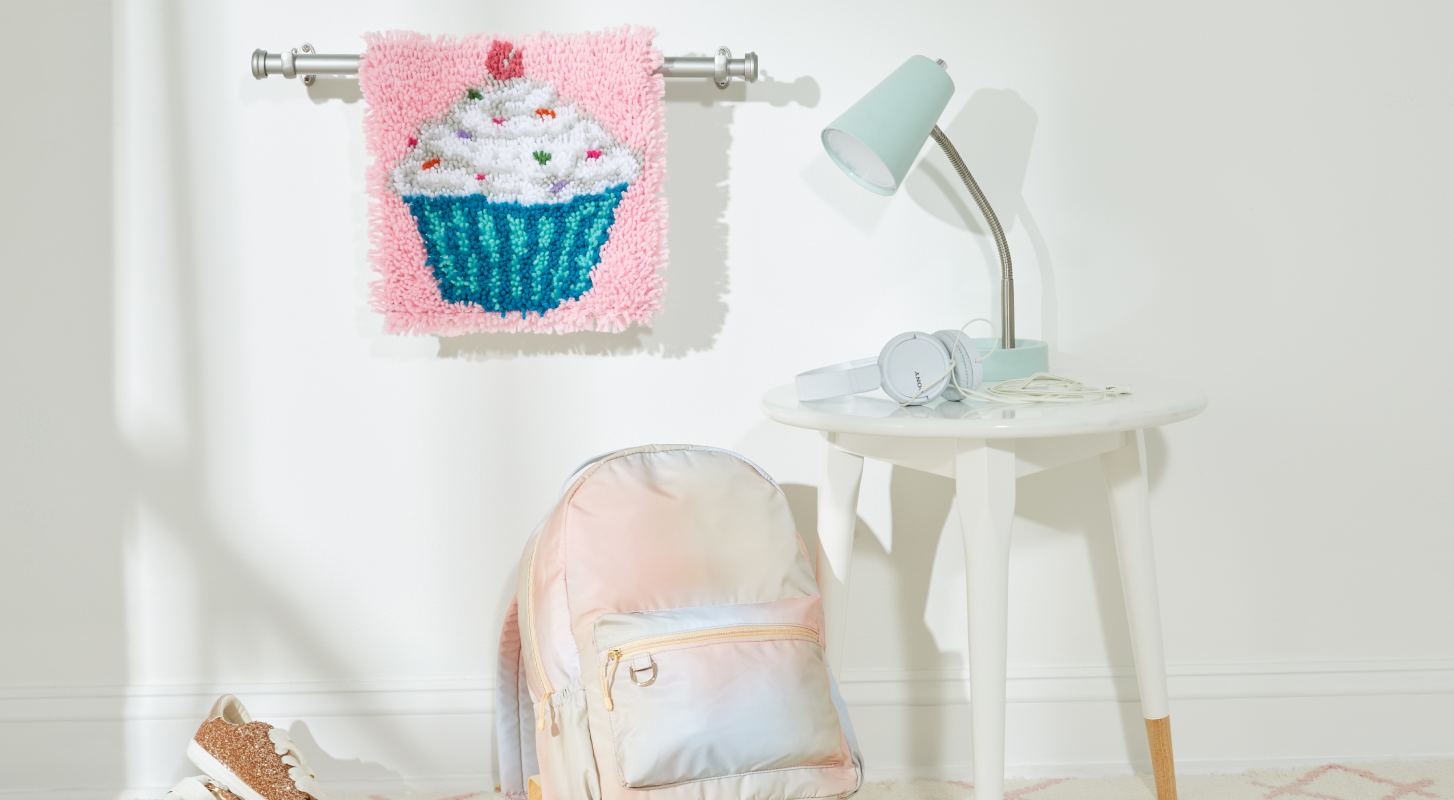
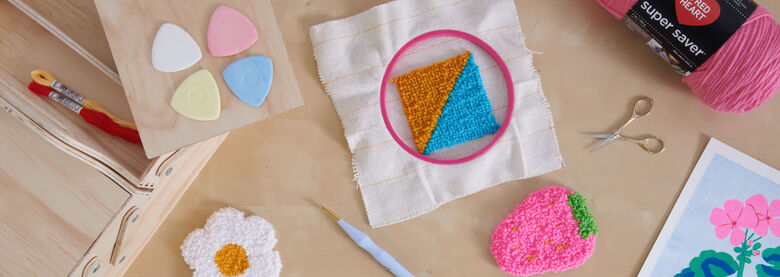
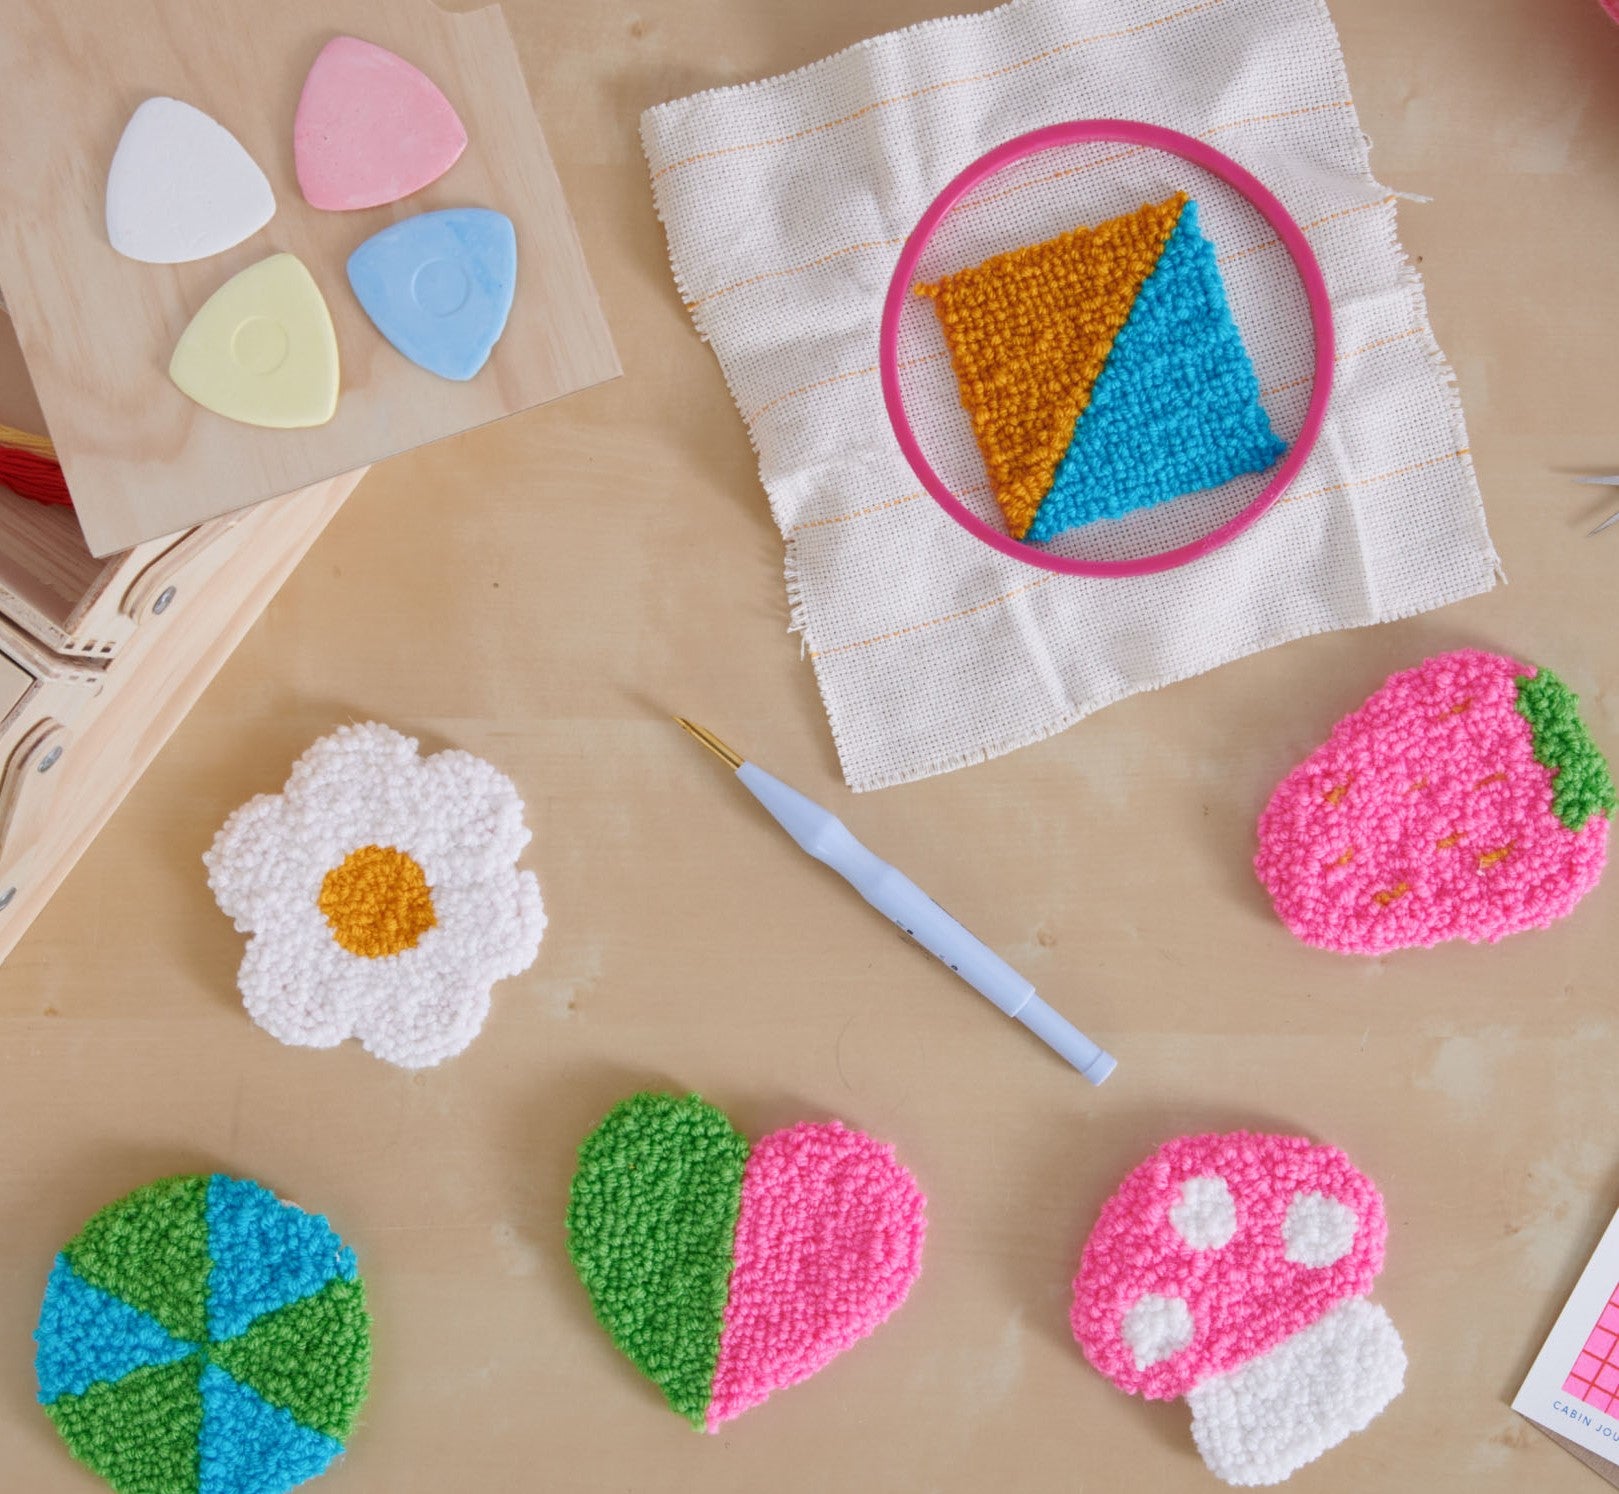
For our first punch needle project, we will be making the Red Heart Punch Needle Coaster in Red Heart Super Saver yarn. It’s a fun coaster set featuring 6 designs including a heart, flower, mushroom, and strawberry. So easy to make, simply transfer the patterns onto a cloth then use your favorite colors of Red Heart Super Saver to punch your way to revealing the colorful patterns.
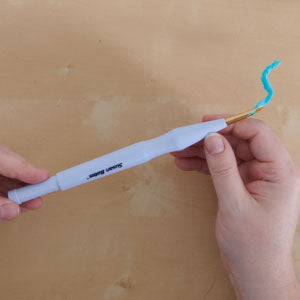
Punch Needle: Your tool is the punch needle which is essentially a tube with a sharp needle point on the end used to puncture fabric which creates loops like carpet pile. The kind of yarn or floss you use will determine the size of the needle needed. I’m someone who enjoys making things, but I want them done faster so I always opt for our larger Susan Bates Adjustable Punch Needle. This way I’m able to use worsted or bulky weight yarns. For more delicate work or work with Anchor Embroidery Floss, it’s best to use the smaller Susan Bates Deluxe Punch Needle Set.
Fabrics: When working with the larger punch needle and worsted weight yarn, the best option is to use monk’s cloth. It’s a loose even-weave cotton fabric which is ideal for punch needle. If you are unable to get your hands on monk’s cloth, I recommend trying a loosely woven linen. For when you’re working with the smaller punch needle, you can use 100% cotton fabric which is easily accessible online and in craft stores. You may also opt to use weaver’s cloth.
Fabric Mounts: There are a few different ways to mount your fabric to begin your work. For smaller projects, embroidery hoops or no-slip hoops work very well. Some adjustments for fabric tension will likely need to be made while you’re working but the convenient size makes for a perfect project on-the-go. For larger projects there are square snap frames, which snap your fabric to the frame and gripper strip frames that cling to your fabric like a metal Velcro strip.
Yarn: With the larger punch needle, which these coasters were made with, it’s best to use worsted or bulky yarns. Red Heart Super Saver is a great choice with over 120 beautiful colors, you will always find the perfect color to complete your project. Patons Classic Wool Worsted yarn makes beautiful wooly projects worthy of handing down through the family. Experimenting with different yarns is a fun and easy way to try out different textures so if it glides through the needle with ease, you should give it a try and see what comes of it!
how to punch needle
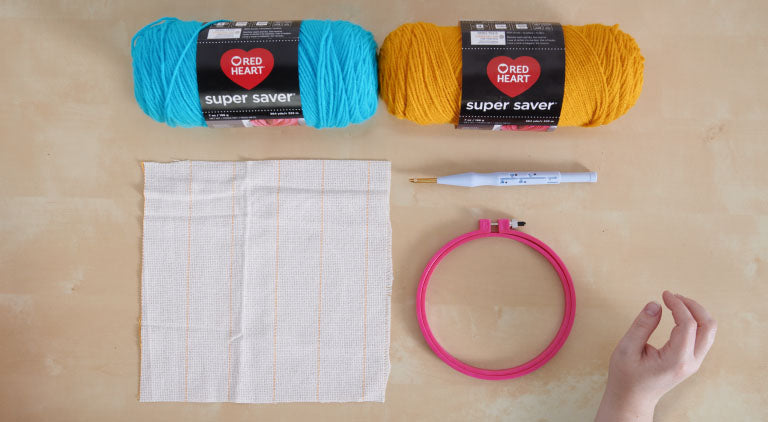
supplies:
- Monk’s cloth
- Large Susan Bates Punch Needle
- Yarn (we’re going to use Red Heart Super Saver today)
- Embroidery hoop
- Hot glue
- Scissors
- Felt for backing
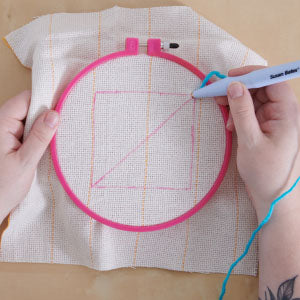
Step 1: Cut monk’s cloth to appropriate size for the project and hoop you’re working in and secure in hoop.

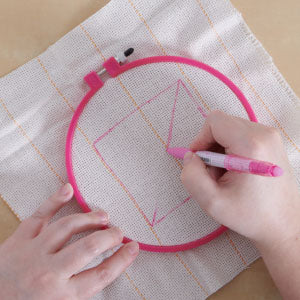
Step 2: Apply design to fabric. There are a couple of methods to transfer, as follows: Light box or window.
- Place the printed pattern on a light box or tape to a window - sunny days are best.
- Center the cloth over the pattern and tape or hold in place.
- Trace pattern onto cloth with pencil or felt tip marker.
In Hoop method
- Cut out the pattern.
- Center and tape the pattern to the inside of the hoop.
- Trace pattern onto cloth with pencil or felt tip marker. Remove pattern.
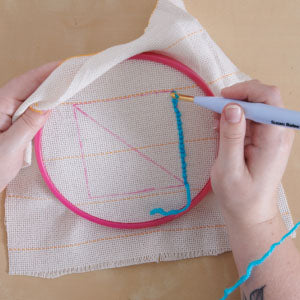
Step 3: Thread the Susan Bates punch needle using the package instructions. Set needle to position D – 24mm.
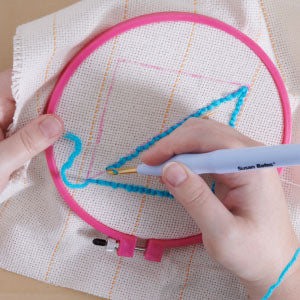
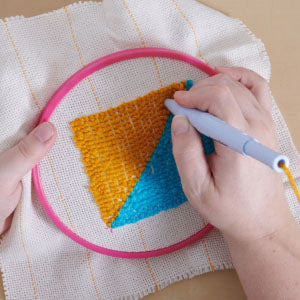
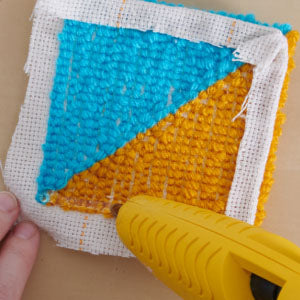
Step 4: Keep the eye (the opening) of the needle facing the direction you are punching. To begin punch needling, start with the main outline of the design and move to the smaller details following the colors indicated on the diagrams. Be sure to punch the needle all the way down until the handle touches the foundation cloth and do not lift the needle too high off your cloth between punches. Instead, drag the needle across the cloth to the next punch. Keep slack on your yarn as you punch so that the yarn will stay in the cloth. If you have to much tension on the yarn, it will pull back up as you pull up your needle for the next punch. Remember that the loop side of your project will be the reverse of what you have traced.
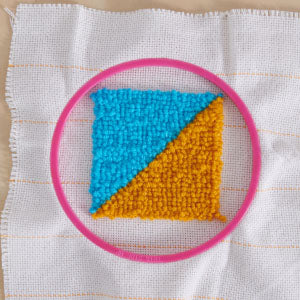
front
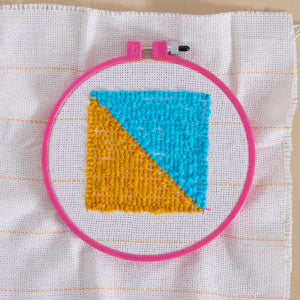
back
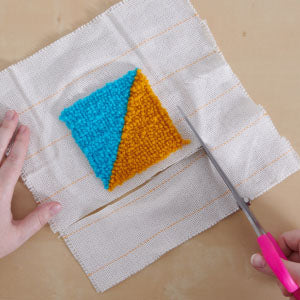
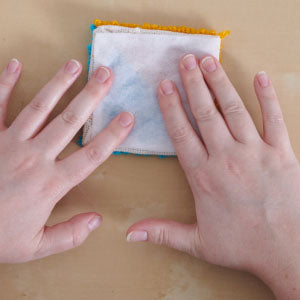
Step 5: Once you’re finished, remove your beautiful new creation from the hoop and trim the excess fabric from around the edges, making sure there’s a ½” [1.5 cm] boarder. Using hot glue, fold the edges to the back of your work and secure. To back the coaster, cut your felt to the size and shape of your finished piece and glue in place
And... you’re done! Thanks for joining me in this punch needle adventure. I hope you’ve learned something new and are ready to create some fun projects!
Ready to get crafty with even more clever projects? Explore the content below to stretch your skills!
Don’t forget to share your photos using #YARNSPO and tag us @yarnspirations on Instagram or find us on Facebook. We love to see everything you make!