My summer has been filled with the absolute joy of teaching children to sew! Every Monday morning a new group of 8 or 9 wonderful 6 to 12 year olds arrive at Sewing Camp and we spend the week having SEW much fun together. By Friday, they’ve made at least five projects and they’re begging for more. If you’ve thought about leading a Summer Sewing Camp I have a simple plan for success to pass along!

Sew Simple, Sew Fun
Keep Sewing Camp time short and be sure to plan a break. Keep them busy and smiling. Projects should teach and build on skills, with plenty of free time for sewing whatever they want. Practice, practice, practice plus the joy of creativity will build awesome future sewists.
- To save time and ensure safety, keep cutting and ironing as “teacher only” tasks.
- Use an “edge of presser foot” seam allowance for all projects rather than following a hard-to-see line on the machine.
- Smile – a lot! Be patient, encouraging and don’t make Sewing Camp about perfection.

Supplies for Sewing Success
Sewing machines should be equipped with Schmetz Needles, threaded with Coats Dual Duty XP All Purpose Thread and ready to go for each child. Save time and avoid frustration by being the expert who re-threads and “re-bobbins” the machines as needed. Have a plastic school-style pencil box ready for each child with good quality supplies.
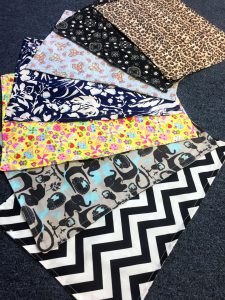
- Include a small pair of kid’s scissors, 24 straight pins, 3 safety pins, a seam ripper, 6” ruler or tape measure, felt marker, pencil, extra spool of thread, and a full extra bobbin.
The Five Day Plan
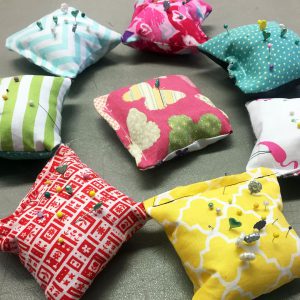
Day One – Sewing Machine Use and Pincushions
- Tell the kids that using a sewing machine is a privilege and there are rules. For example, I tell my sewing campers that the needle doesn’t know whether it’s sewing through fabric or a finger. They learn to keep their hands to the side of the foot and never directly in front when guiding fabric.
- While the machines are turned off, explain the different parts of the machine and have them point to each one as you talk about it. Nancy Zieman’s marvelous book, I Sew for Fun, features a diagram with fun names for each sewing machine part. The kids love this – it helps develop respect for the machine, while making it their friend.
- Review the tools in their supply box and explain their use. Taking a clue from Nancy’s book, I named the seam ripper Rhonda the Ripper and describe her as one of our best sewing friends. A positive attitude goes a long way and making mistakes offers a great opportunity to problem solve and learn skills!
- The Pincushion will be used all week at Sewing Camp. Click here for a tutorial on All People Quilt.
- Skills Learned: Sewing a straight seam, turning a corner, leaving an opening for stuffing, putting right sides together, clipping corners, turning your project right side out, stuffing and sewing the opening closed.
Day Two – Drawstring Bag and Free Time Sewing
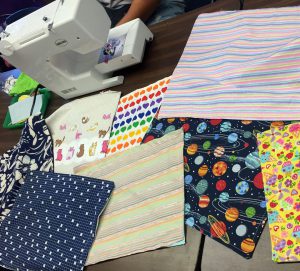
- Free Time Sewing: Now that they know how to sew on their machines, make scraps of fabrics available for free time sewing. They will quickly take off on their own and have a wonderful time being creative! Try to leave room for Free Time Sewing each day of Sewing Camp.
- The Drawstring Bag is perfect for sunglasses, granola bars or a cell phone. Click here for a tutorial on the Lovely Indeed blog.
- Skills Learned: Making a drawstring casing, pulling a ribbon or cord through the casing. This project also reinforces the skills learned with the Pincushion.
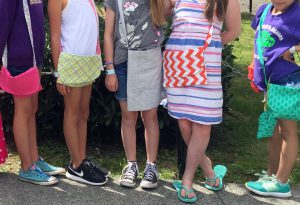
Day Three – Reversible Placemat
- Reversible Placemats are fun to sew and very useful. Let them make two if time permits! Click here for a tutorial on the RaeGun Ramblings blog.
- Skills Learned: Topstitching! The techniques they learned with the pincushion are reinforced with the placemat.
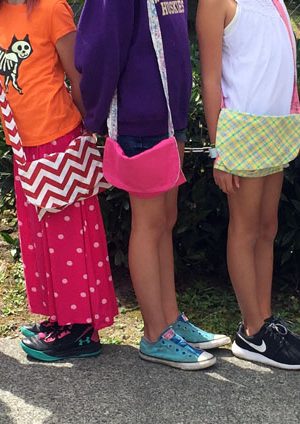
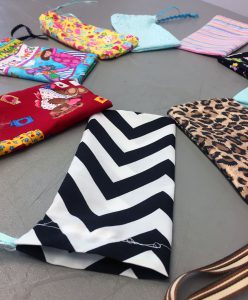
Day Four – Mini Messenger Bag or Book Bag
- A Bag to proudly wear home on their shoulder! Click here for a Messenger Bag tutorial on the Doing Splendid blog. Click here for a Book Bag tutorial on the Crazy Little Projects blog.
- Skills Learned: Lining a project, making and adding a strap. The Bag reinforces the skills learned earlier in the week including topstitching.
Day Five – Infinity Scarves, Headbands, Scrunchies and Finishing Projects
- Gauge today’s Sewing Camp time by how the rest of the week went. Friday is the day to finish up projects. You’ll also want to have a few easy project options for your campers who have finished. Above all, end the day with lots of high fives, praise and encouragement!
- Project Possibilities: Click here for an Infinity Scarf tutorial on Melly Sews. Click here for a Headband tutorial on Craftsy. Click here for a Scrunchie tutorial on the Hart’s Fabrics blog. Click here for a Pillowcase tutorial on the Made Everyday blog
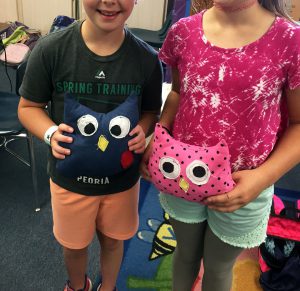 Owls created from Nancy Zieman’s I Sew For Fun book
Ready, Set, Sew!
It’s going to be the most fulfilling and fun time you’ve had all summer!! For a really fabulous alternative plan, I highly recommend Nancy Zieman’s book, I Sew for Fun. It’s the result of the time Nancy spent sewing with her granddaughters and offers four levels of sewing projects with full color instructions. Whatever plan you choose, do it with patience, flexibility and lots of smiles!
